Pulsar Manager
Casdoor can easily connect to Pulsar Manager.
The code for connecting Casdoor has already been added to Pulsar Manager, so we just need to configure the application.yml file in the back-end and enable the front-end switch.
Step 1: Deploy Casdoor
First, deploy Casdoor.
You can refer to the official Casdoor documentation for the Server Installation.
After a successful deployment, ensure the following:
- The Casdoor server is running successfully at http://localhost:8000.
- Open your favorite browser and visit http://localhost:7001. You should see the login page of Casdoor.
- Test the login functionality by entering
adminand123.
Now, you can quickly implement a Casdoor-based login page in your own app using the following steps.
Step 2: Configure Casdoor
To configure Casdoor, refer to Casdoor (it is recommended to use a different browser than your development browser).
You should also configure an organization and an application. You can refer to Casdoor for detailed instructions.
Step 2.1: Create an organization

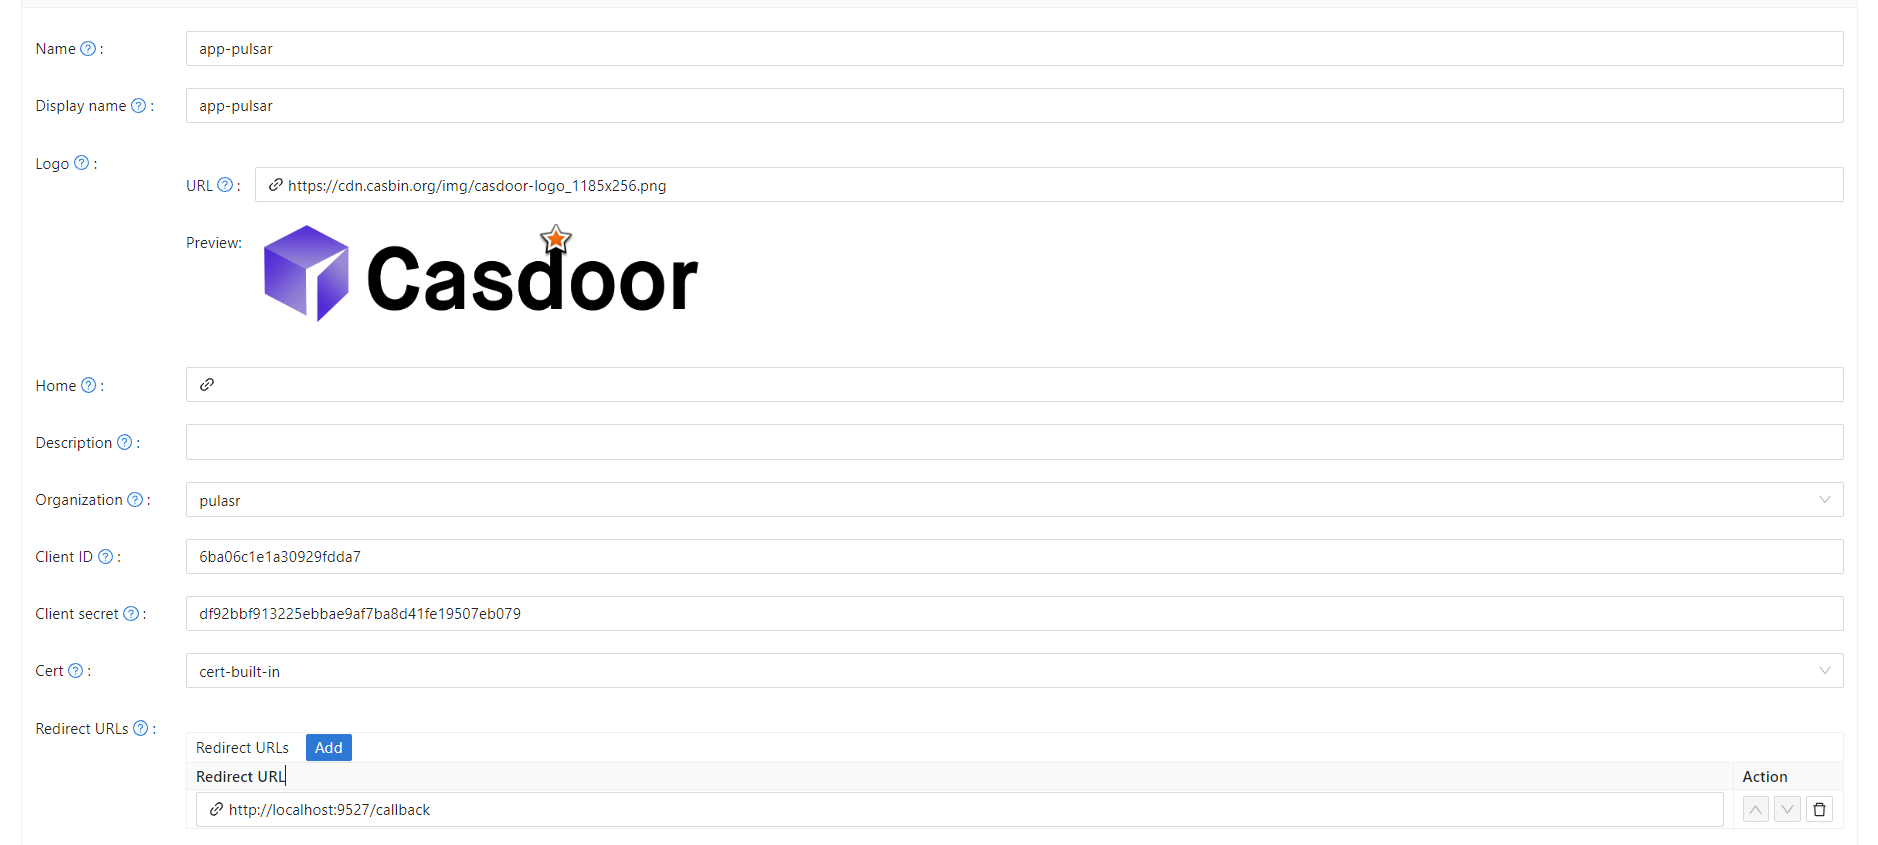
Step 2.2: Create an application
Step 3: Enable the Pulsar Manager front-end switch
Enable this switch to send code and state to the back-end.
You can find the switch on line 80 of pulsar-manager/front-end/src/router/index.js.

Step 4: Configure the back-end code
Configure Casdoor's settings in the application.properties file, which can be found on line 154 of pulsar-manager/src/main/resources/application.properties.
casdoor.endpoint = http://localhost:8000
casdoor.clientId = <client id from previous step>
casdoor.clientSecret = <client secret from previous step>
casdoor.certificate = <client certificate from previous step>
casdoor.organizationName = pulsar
casdoor.applicationName = app-pulsar